So this last Christmas (yes it was that long ago) one my closest friends visited from North Carolina. We decided to do an experiment to see what the real difference is with baking and using gluten-free flour. So we made her amazing (lower fat) banana bread three-ways.
- All organic wheat flour
- Gluten-light with half organic wheat flour and half gluten-free Flour
- All gluten-free flour
Here are the recipes and the results. I think you might be surprised. I know we were!
Recipe 1: Banana Bread – Wheat Flour Only
- 1/4 cup oil
- 1/4 cup applesauce
- 1 cup sugar
- 2 eggs, beaten
- 4-5 ripe bananas, mashed (about 1 cup)
- 2 cups all purpose flour
- 1 tsp. baking soda
- 1/2 tsp. baking powder
- 1/2 tsp. salt
- 3 Tbsp. milk
- 1/2 tsp. vanilla
- 1/2 cup chopped nuts
- 1 cup chocolate chips
Recipe 2: G-Lite Banana Bread
- 1/4 cup oil
- 3/4 cup applesauce (added more to adapt to the GF Flour)
- 1 cup sugar
- 2 eggs, beaten
- 4-5 ripe bananas, mashed (about 1 cup)
- 1 cup all purpose flour
- 1 cup gluten-free flour (I used Pamela’s All Purpose Gluten Free Flour)
- 1 tsp. baking soda
- 1/2 tsp. baking powder
- 1/2 tsp. salt
- 3 Tbsp. milk
- 1/2 tsp. vanilla
- 1/2 cup chopped nuts
- 1 cup chocolate chips
Recipe 3: Gluten-Free Banana Bread
- 1/4 cup oil
- 3/4 cup applesauce
- 1 cup sugar
- 2 eggs, beaten
- 4-5 ripe bananas, mashed (about 1 cup)
- 2 cups gluten-free Flour (I used Pamela’s All Purpose Gluten Free Flour)
- 1 tsp. baking soda
- 1/2 tsp. baking powder
- 1/2 tsp. salt
- 1/4 cup milk (Extra milk was needed here because of the GF Flour’s tendency to absorb liquids more than wheat flour)
- 1 tsp. vanilla
- 1/2 cup chopped nuts
- 3/4 cup chocolate
Directions for all Recipes
- Set Oven temperature to 375 degrees.
- Mix all dry ingredients together (set aside).
- Combine oil, applesauce, vanilla, and bananas in mixer.
- Add eggs and sugar and beat until smooth.
- Add your dry ingredients slowly until combined well.
- Fold in nuts and chocolate chips if you choose.
- Spray your bread pan with oil and then lightly coat with flour (we used wheat flour for the full wheat recipe and gluten-free flour for the other two versions.)
- Bake for 1 to 1 1/4 hours.
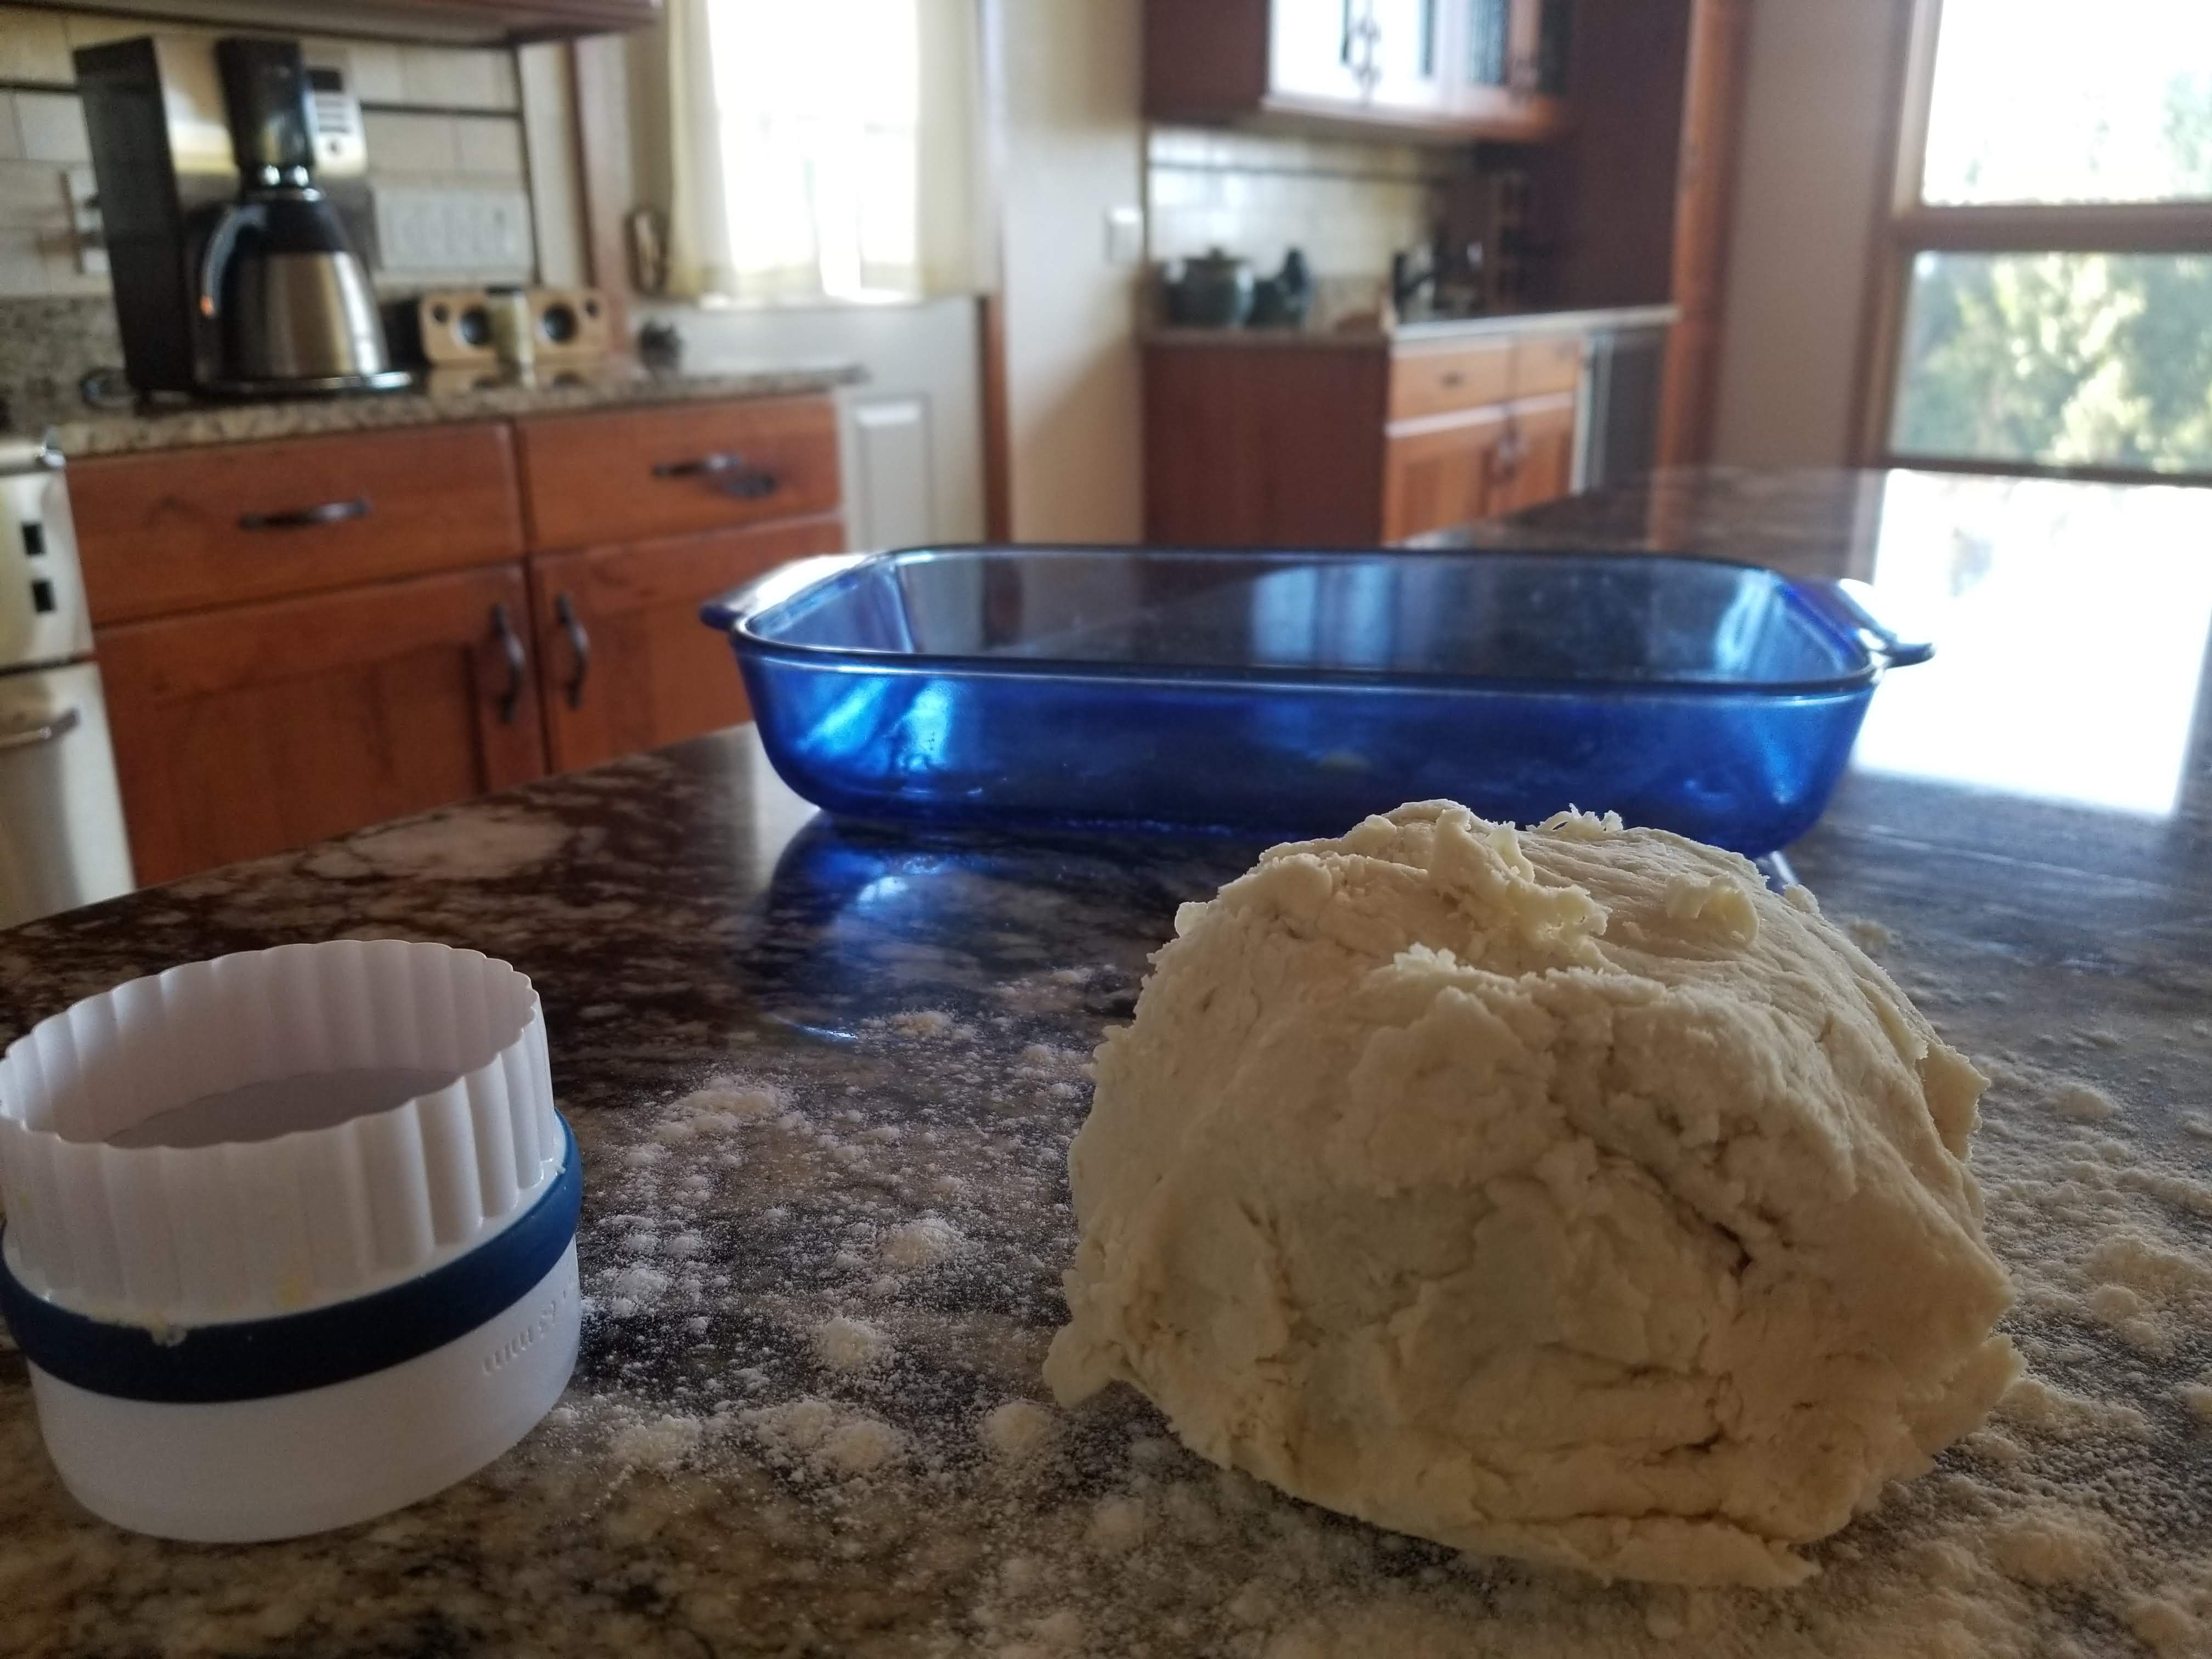
Pictures of the Process

First we mashed the bananas with the oil, applesauce, and milk 
Next we added the sugar and eggs 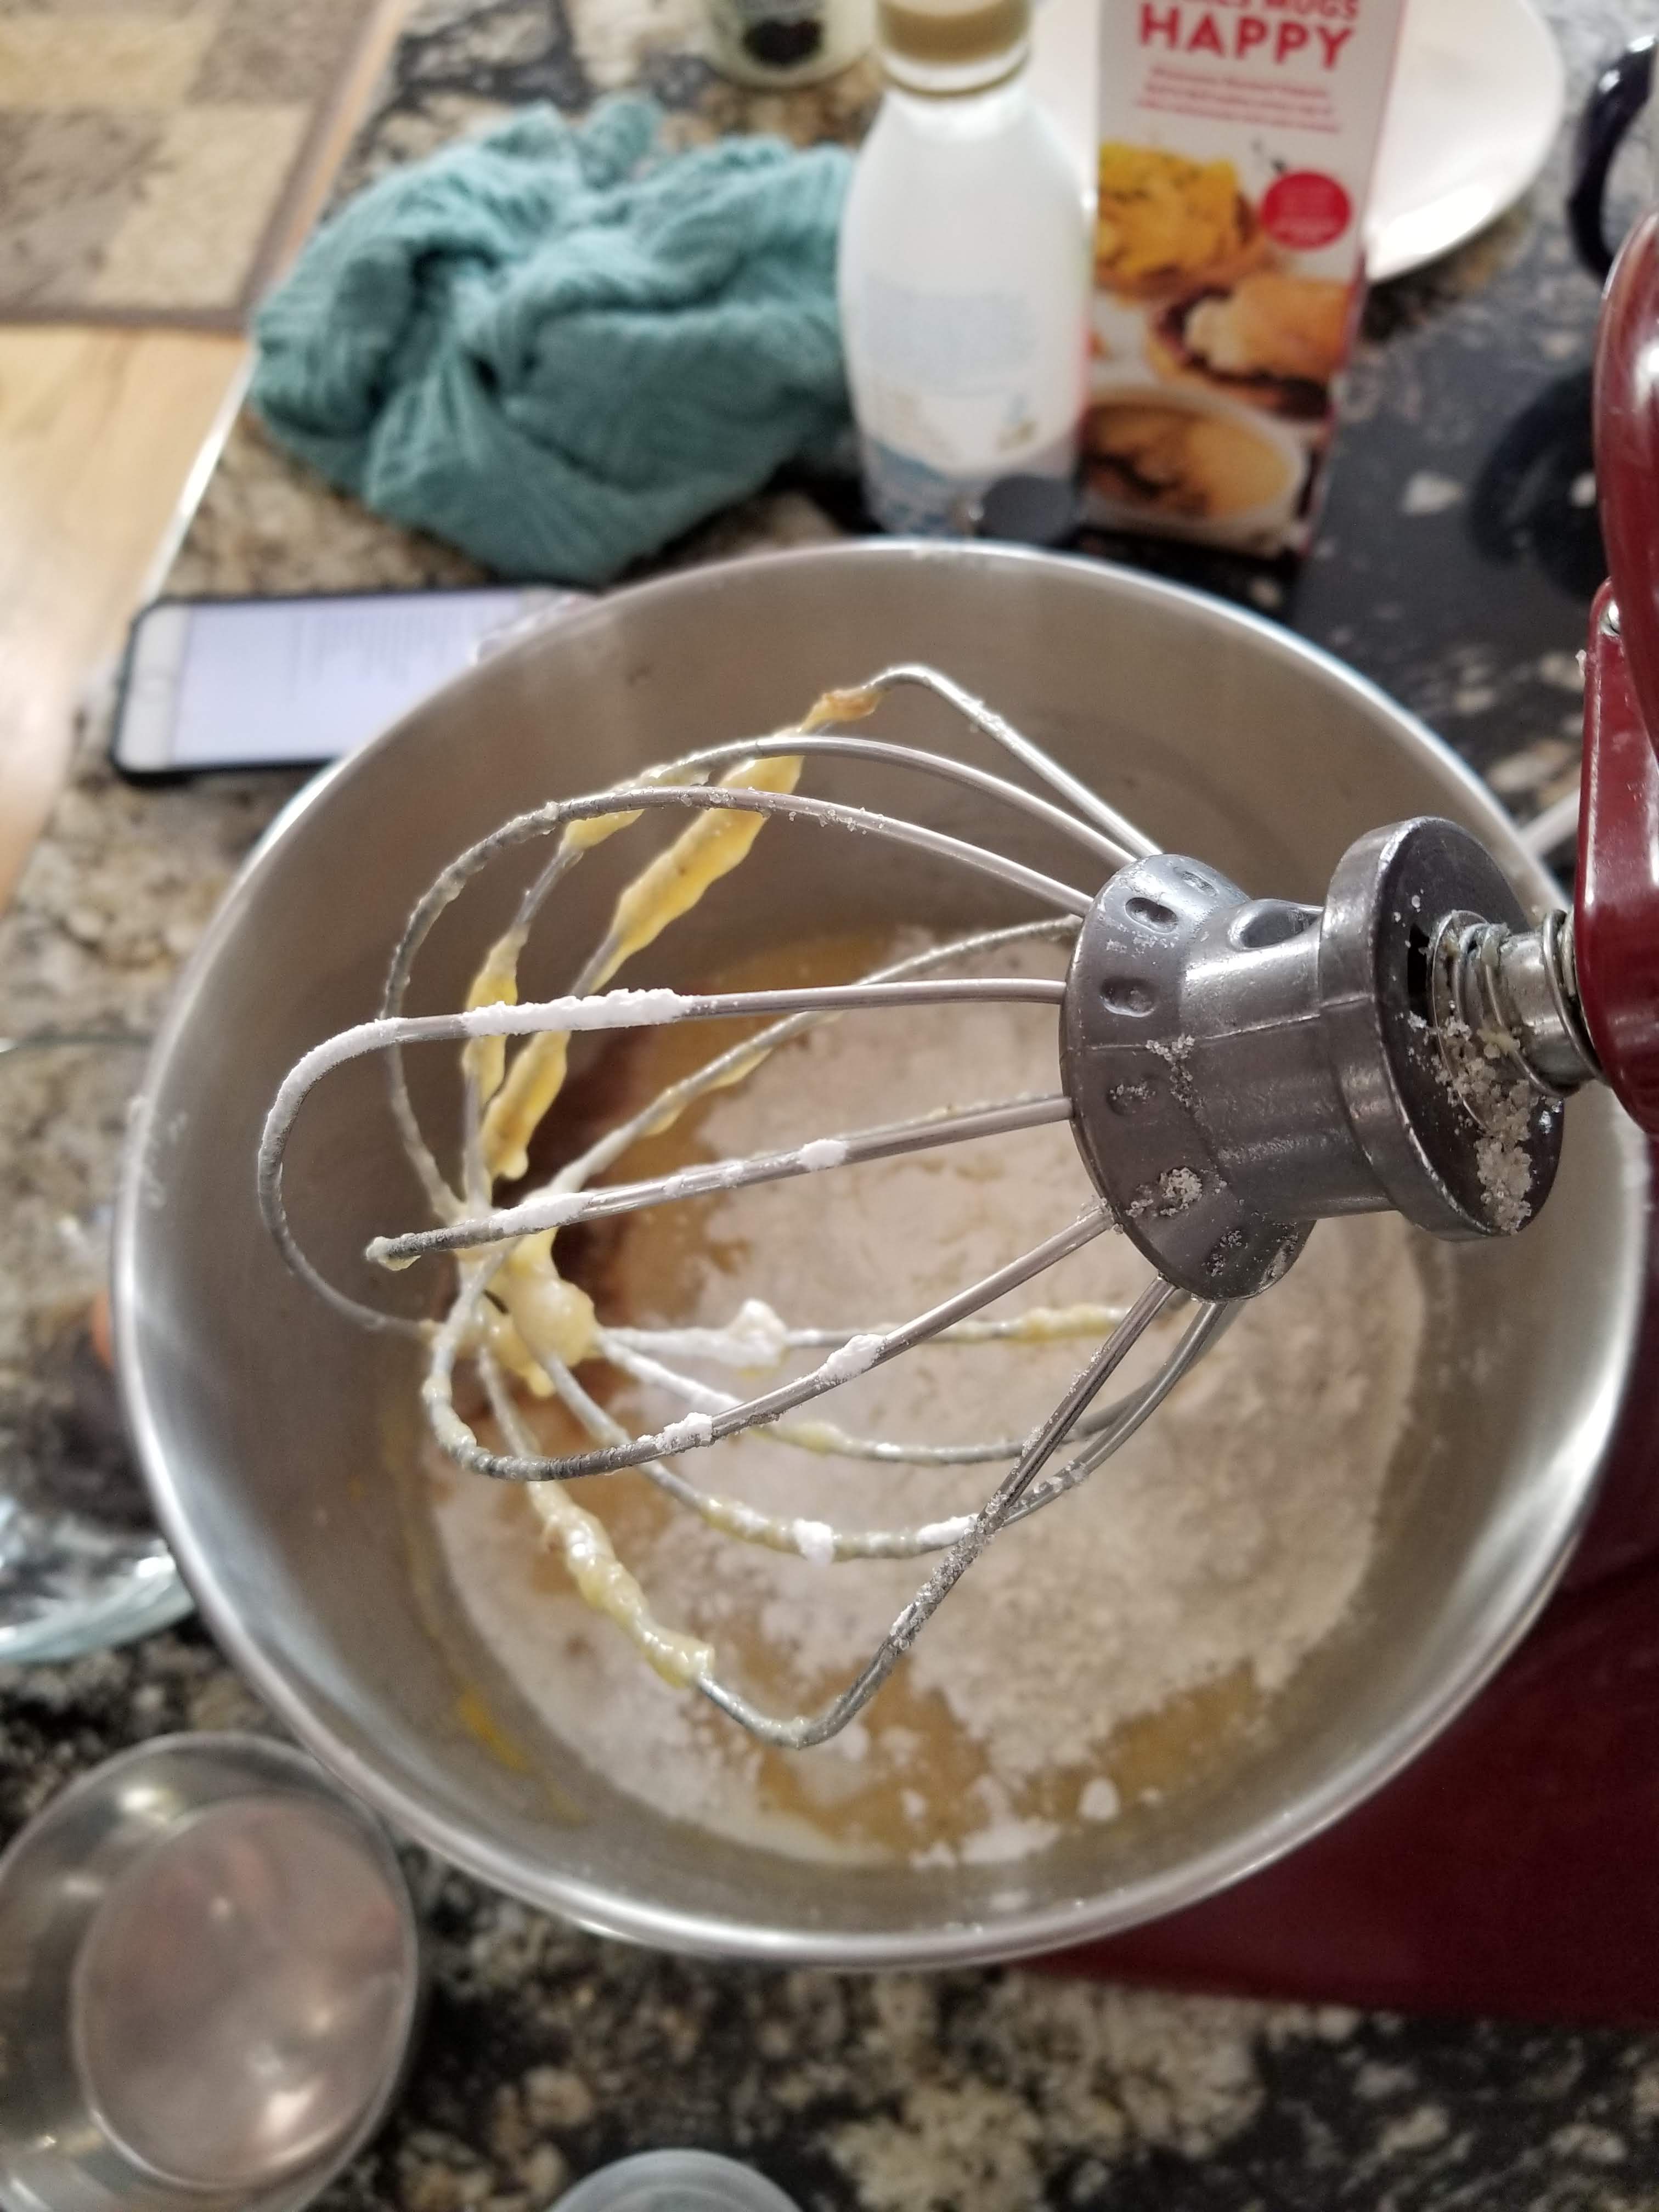
Then we added in the dry ingredients 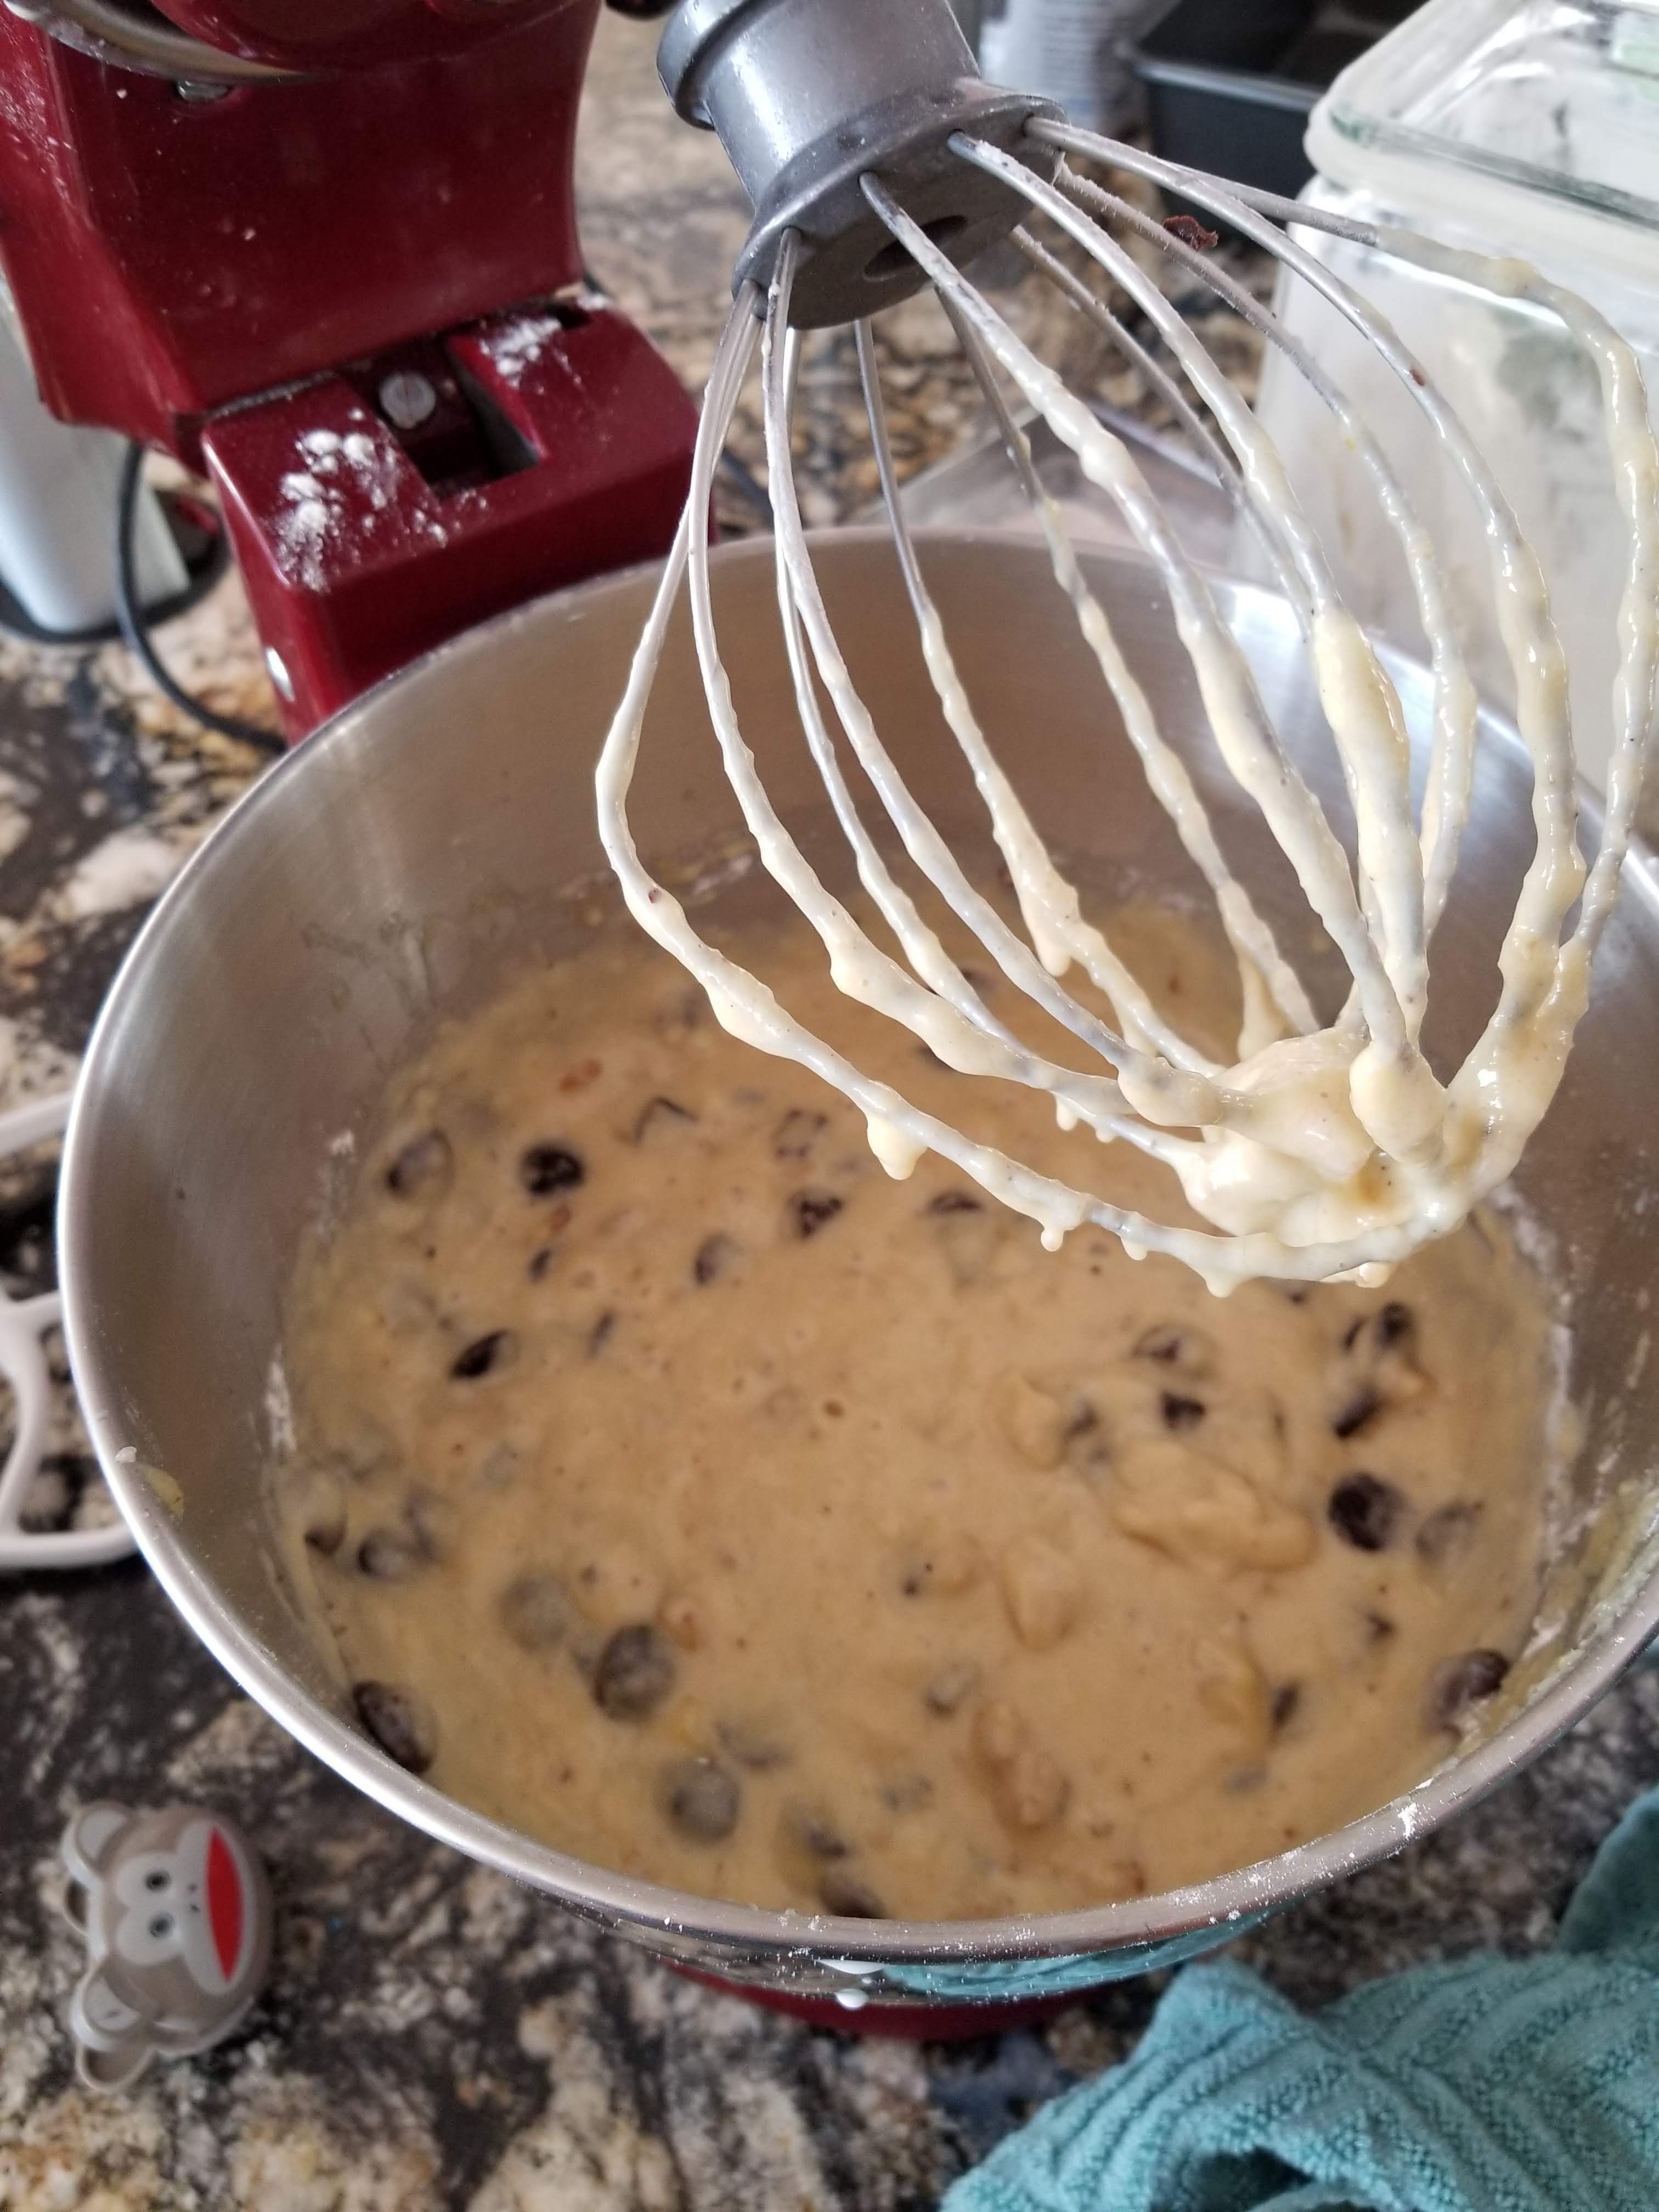
Finally we folded in the chocolate chips and nuts with a spatula. 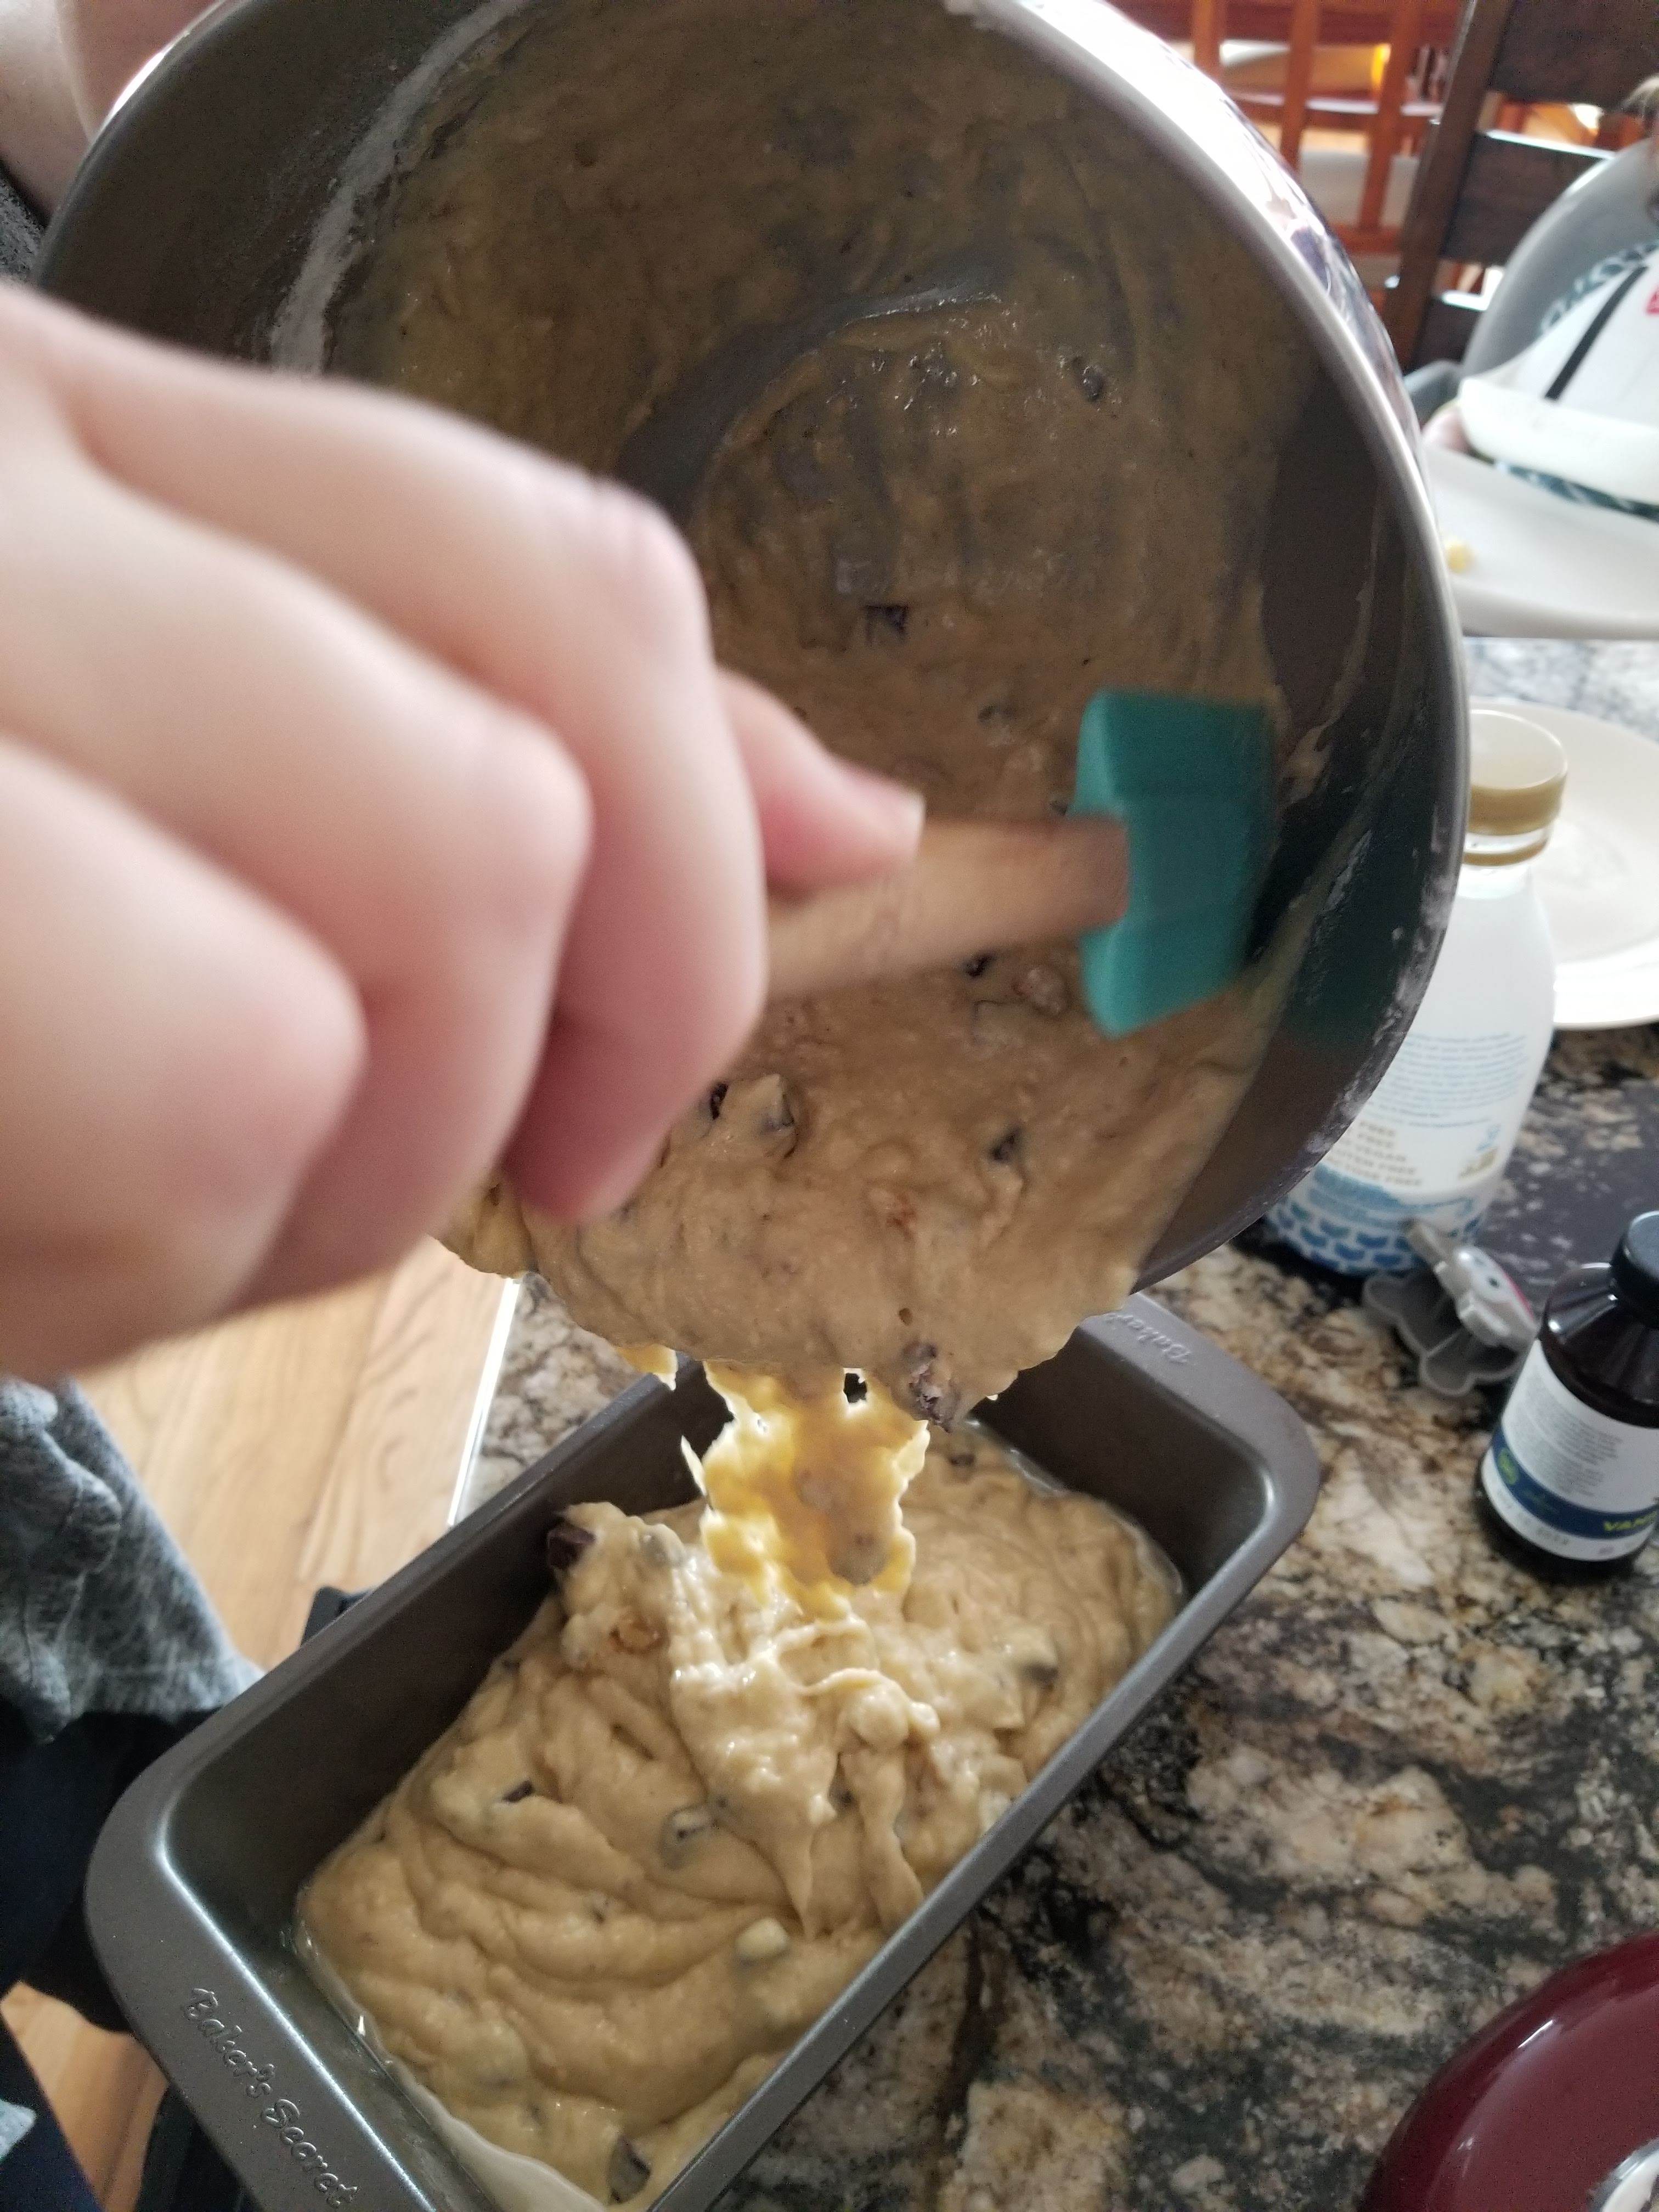
Don’t forget to oil and flour your pans 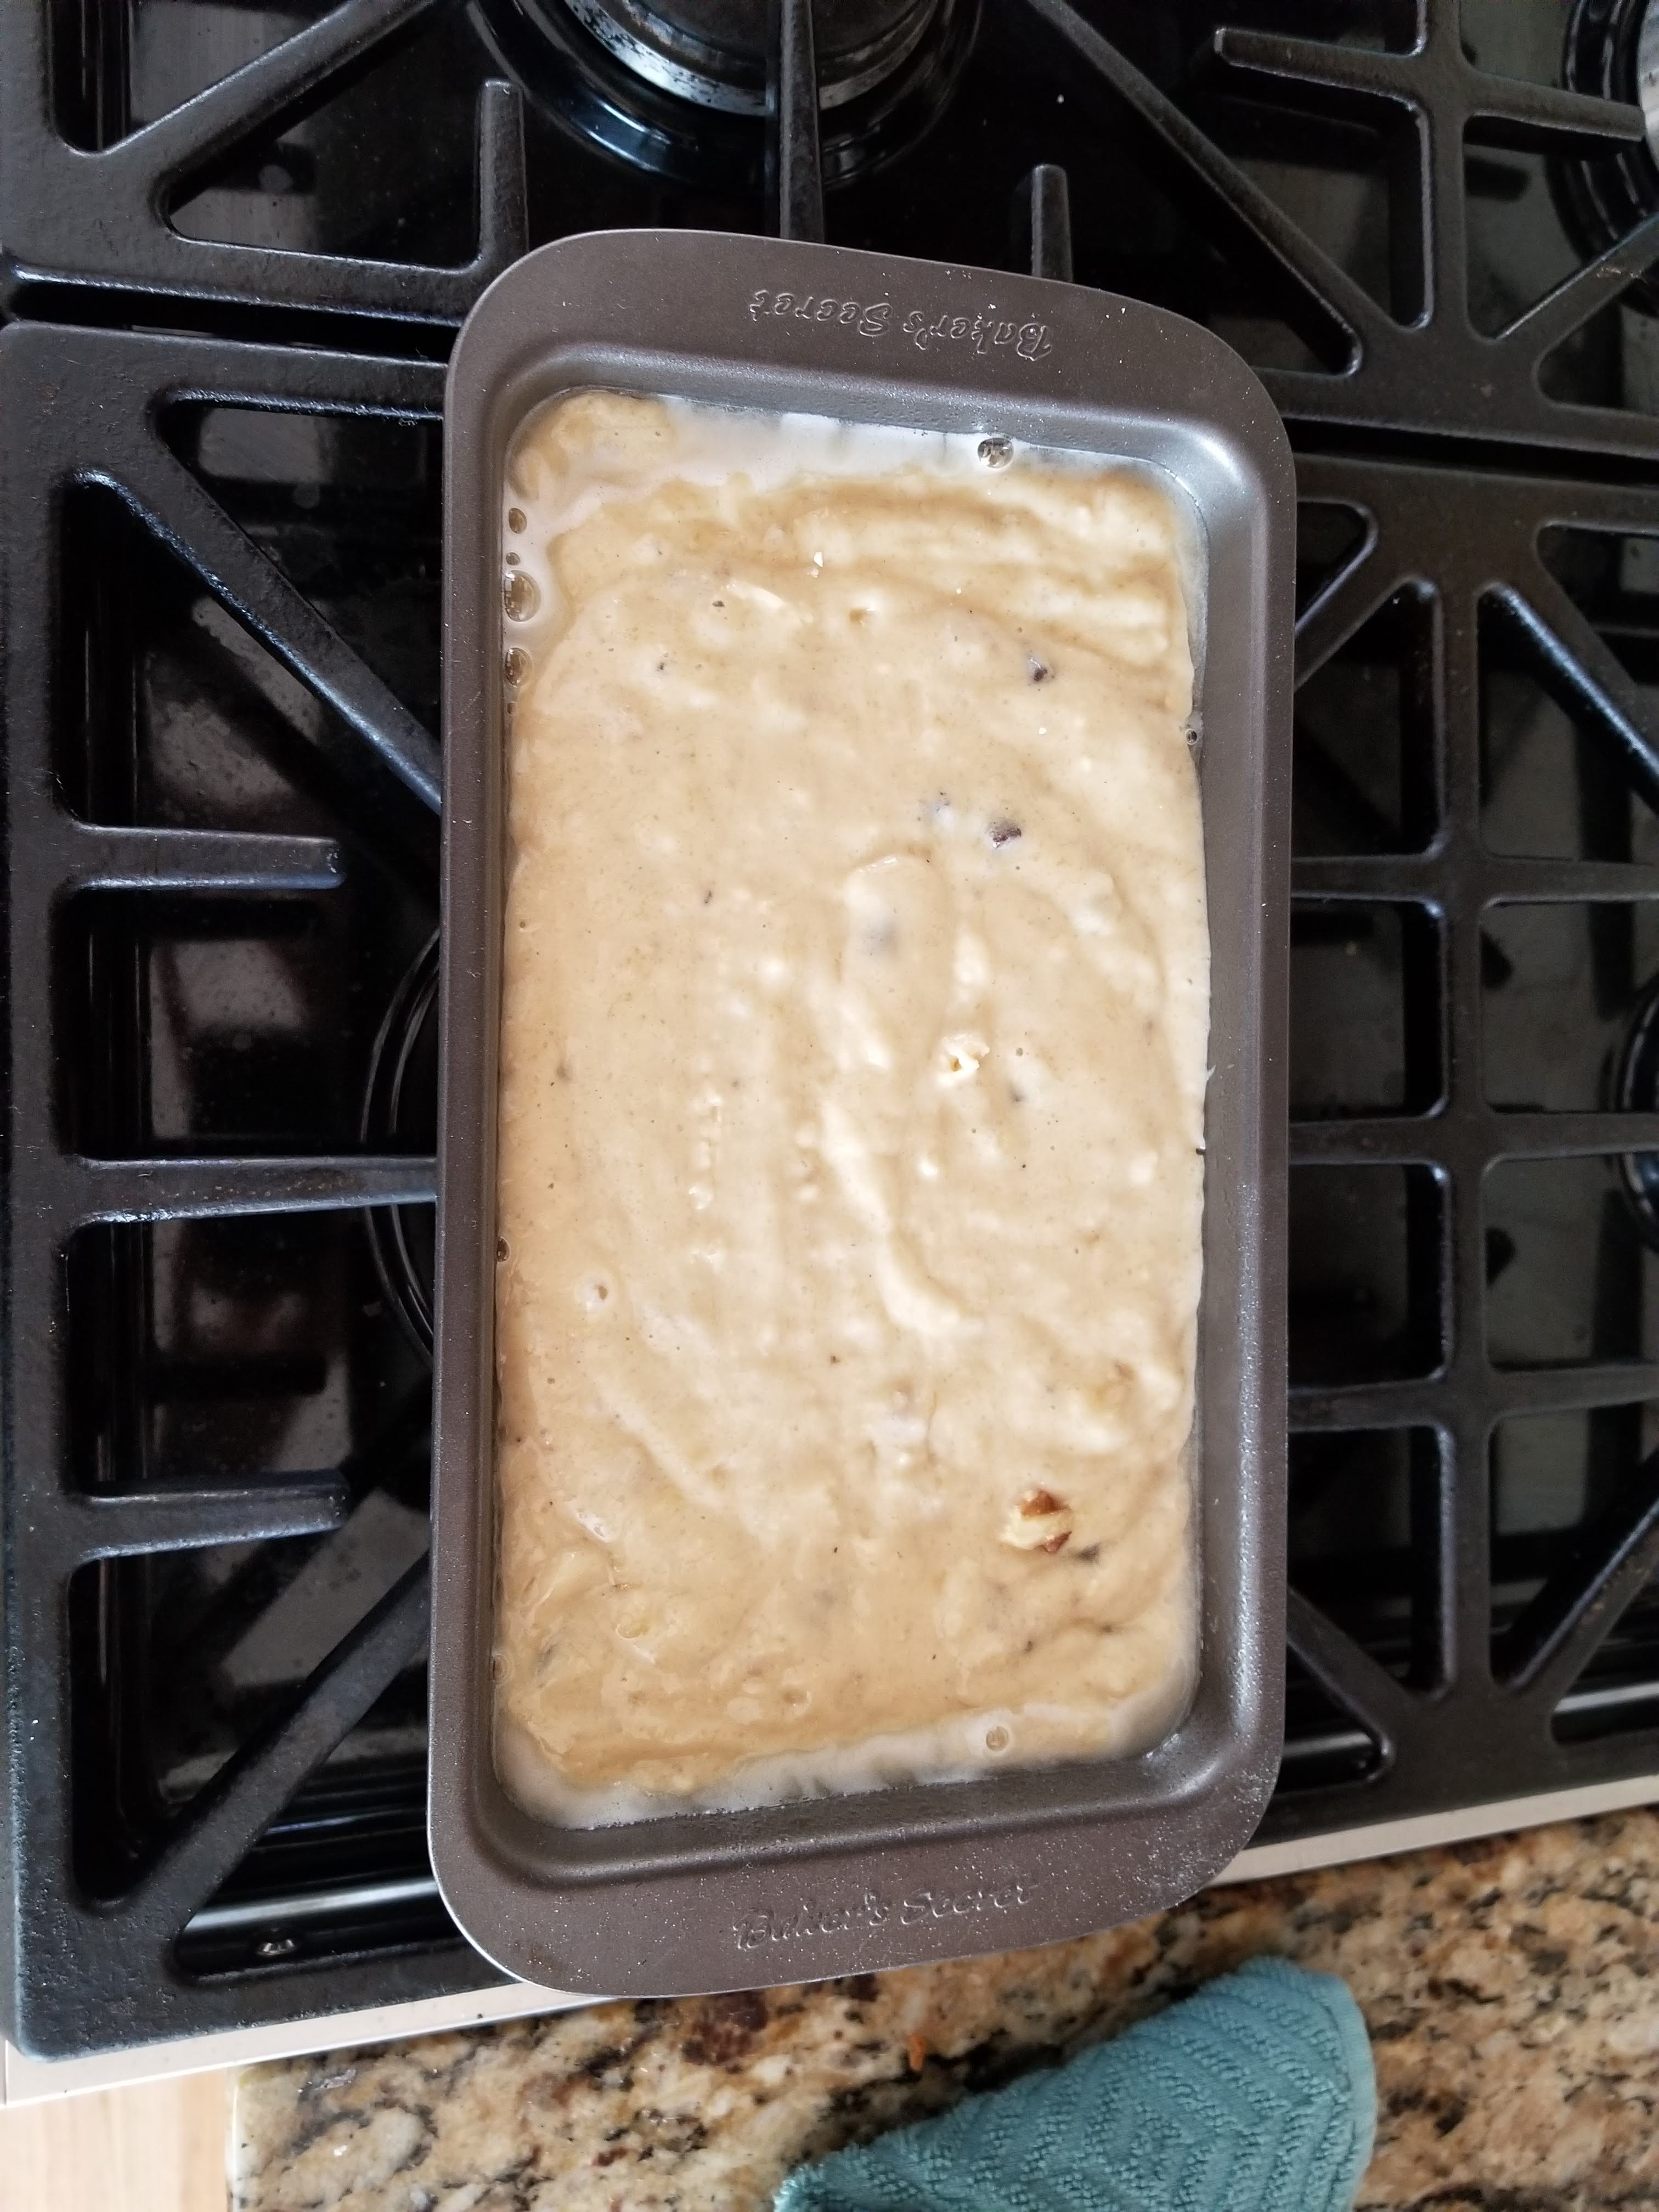

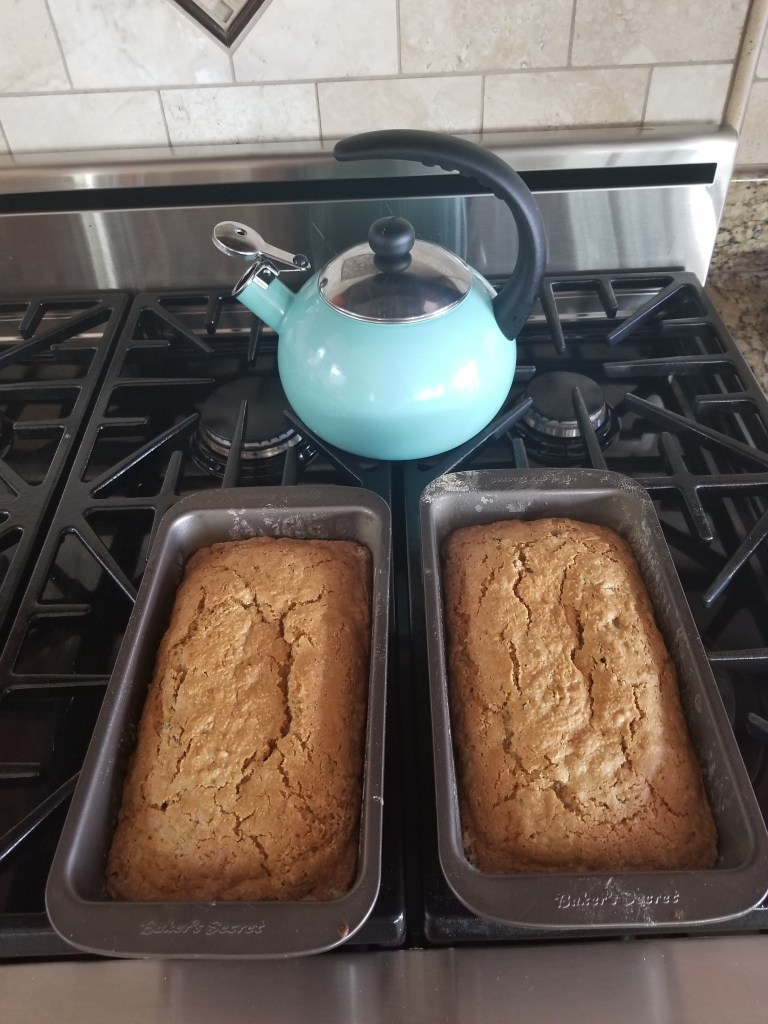
For consistency sake we put all three loaves in at the same time. This is half way through the process. They are organized from left to right – full wheat, gluten-lite, gluten-free.
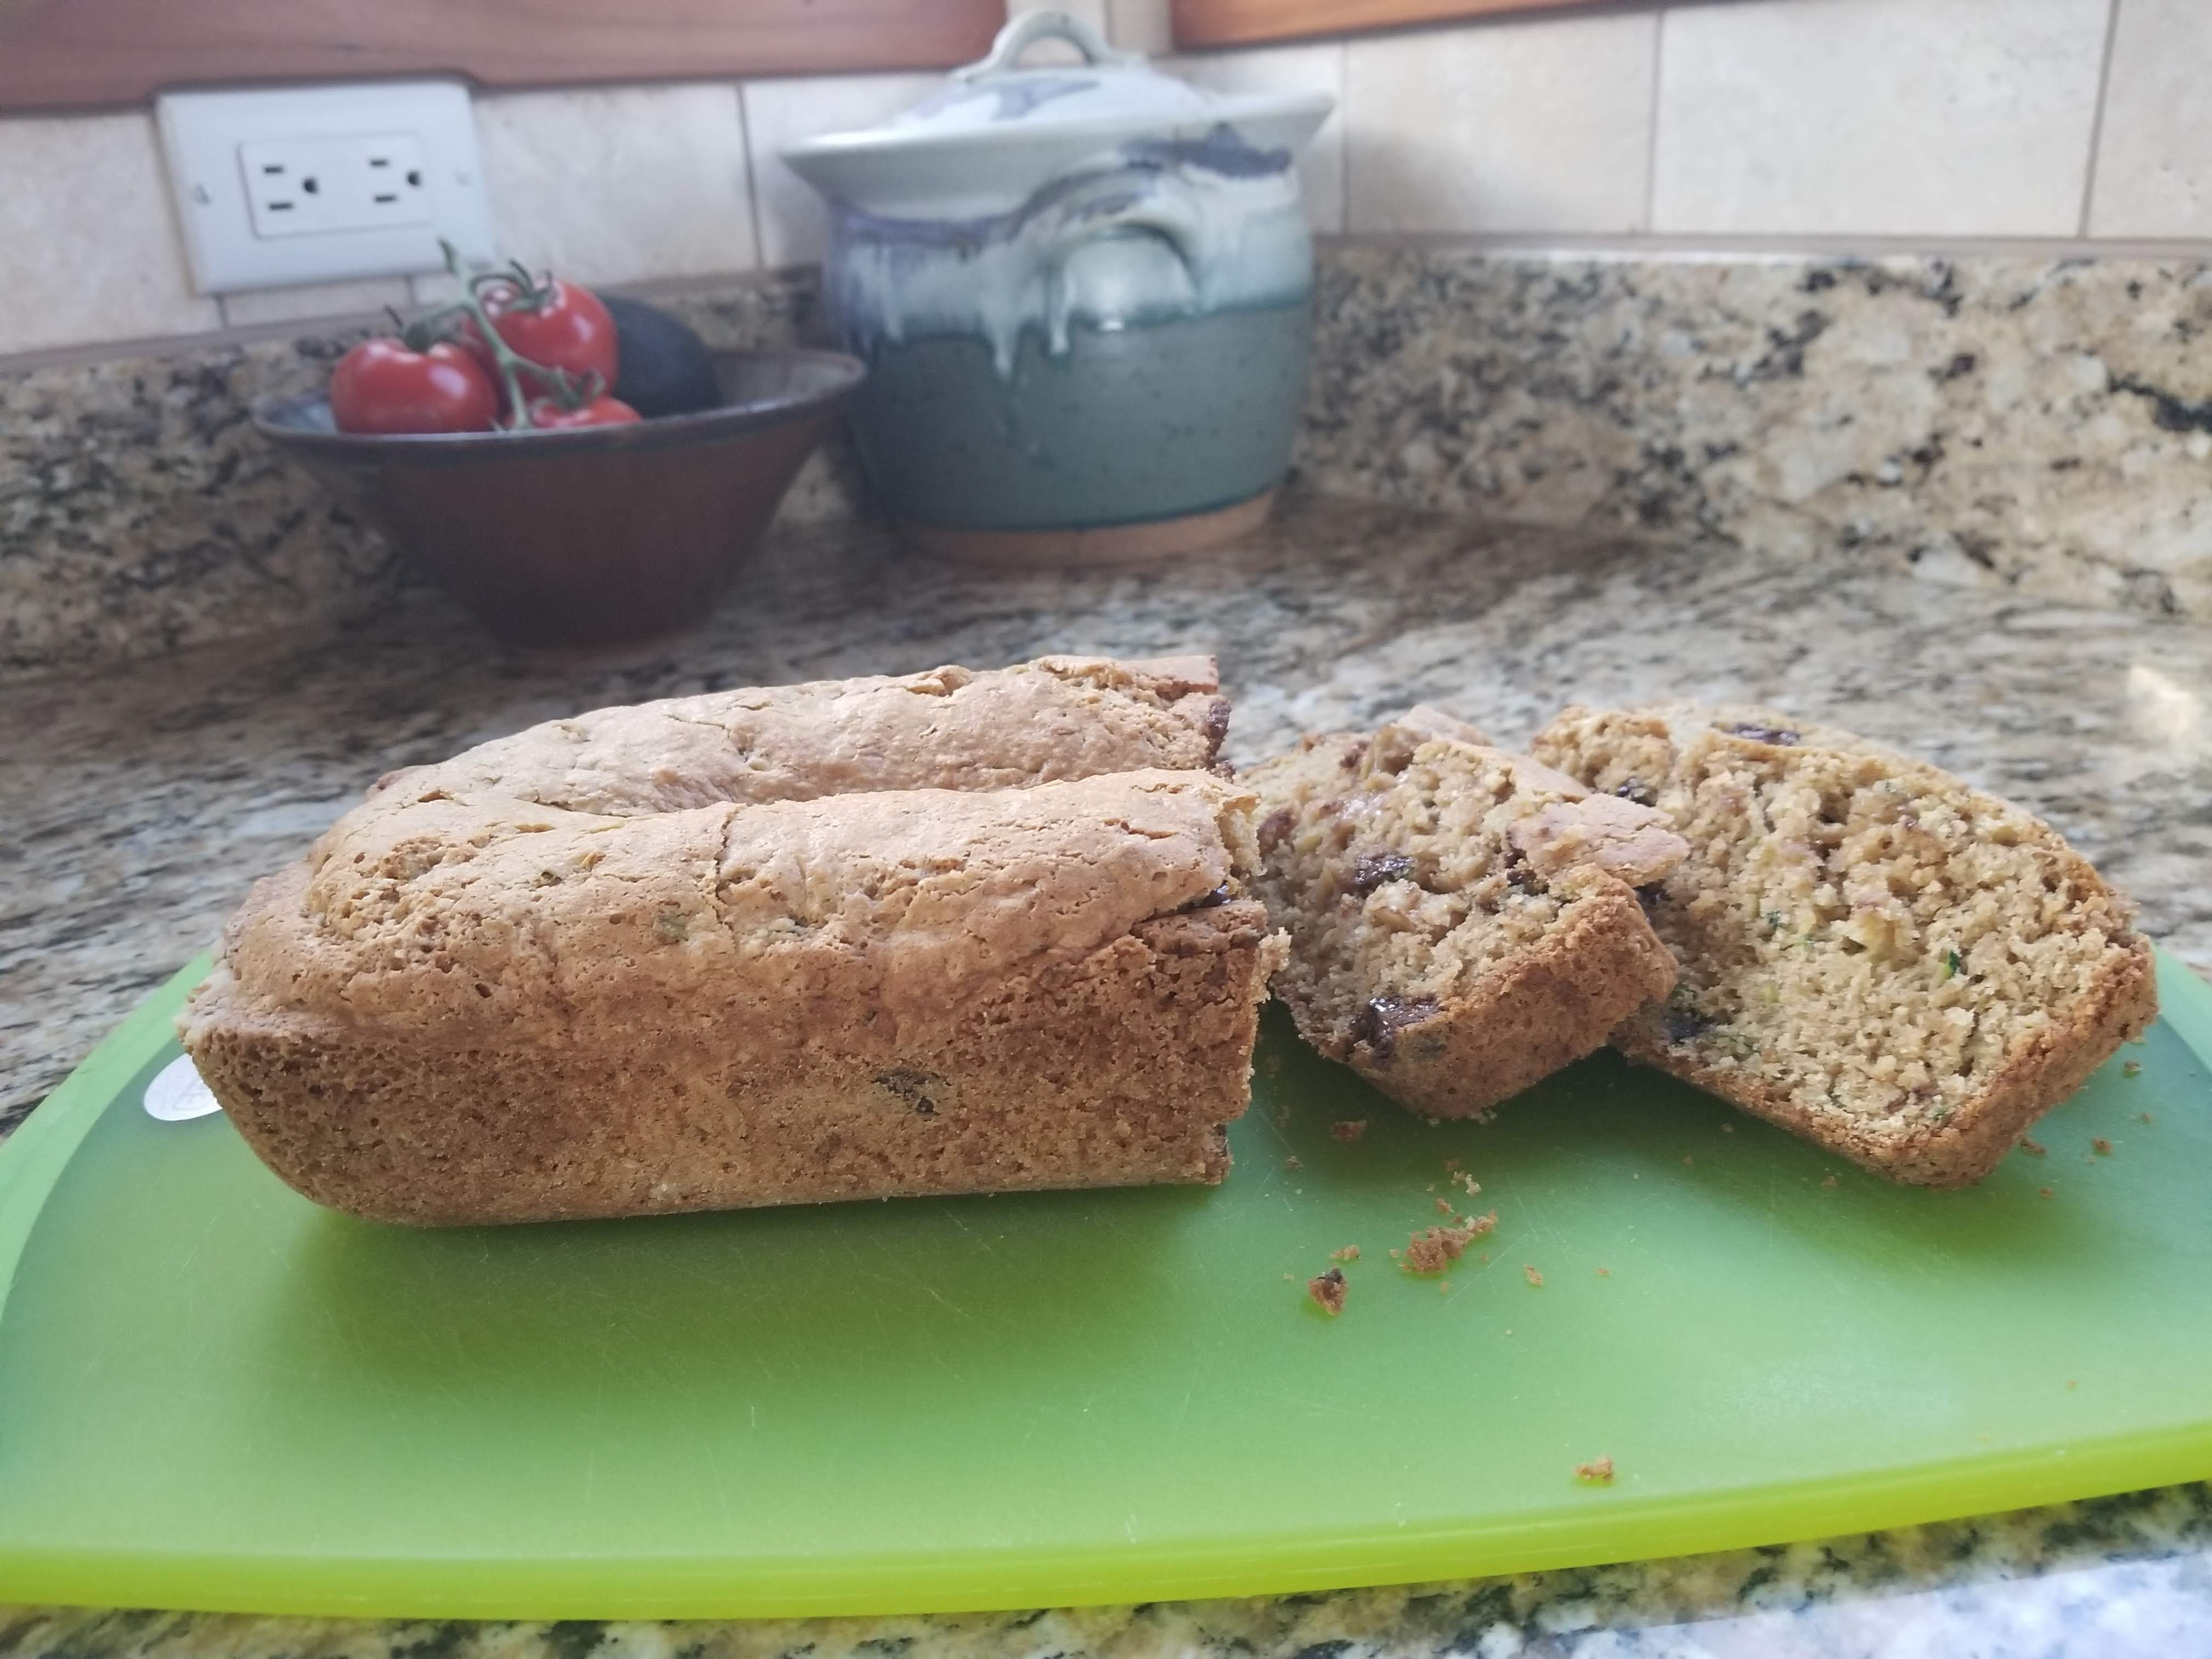
The Results
It blew our minds, but the gluten-free version actually was the prettiest visually overall. Nice high rise, perfect browning. The full wheat and gluten-lite versions looks almost identical. Neither got the high rise (I think more baking soda might have helped – this is often a sign of high altitude baking issues.), but both browned very nicely. Texture-wise when we cut into the three different loaves, they all looked pretty similar. So next we moved onto the taste test.

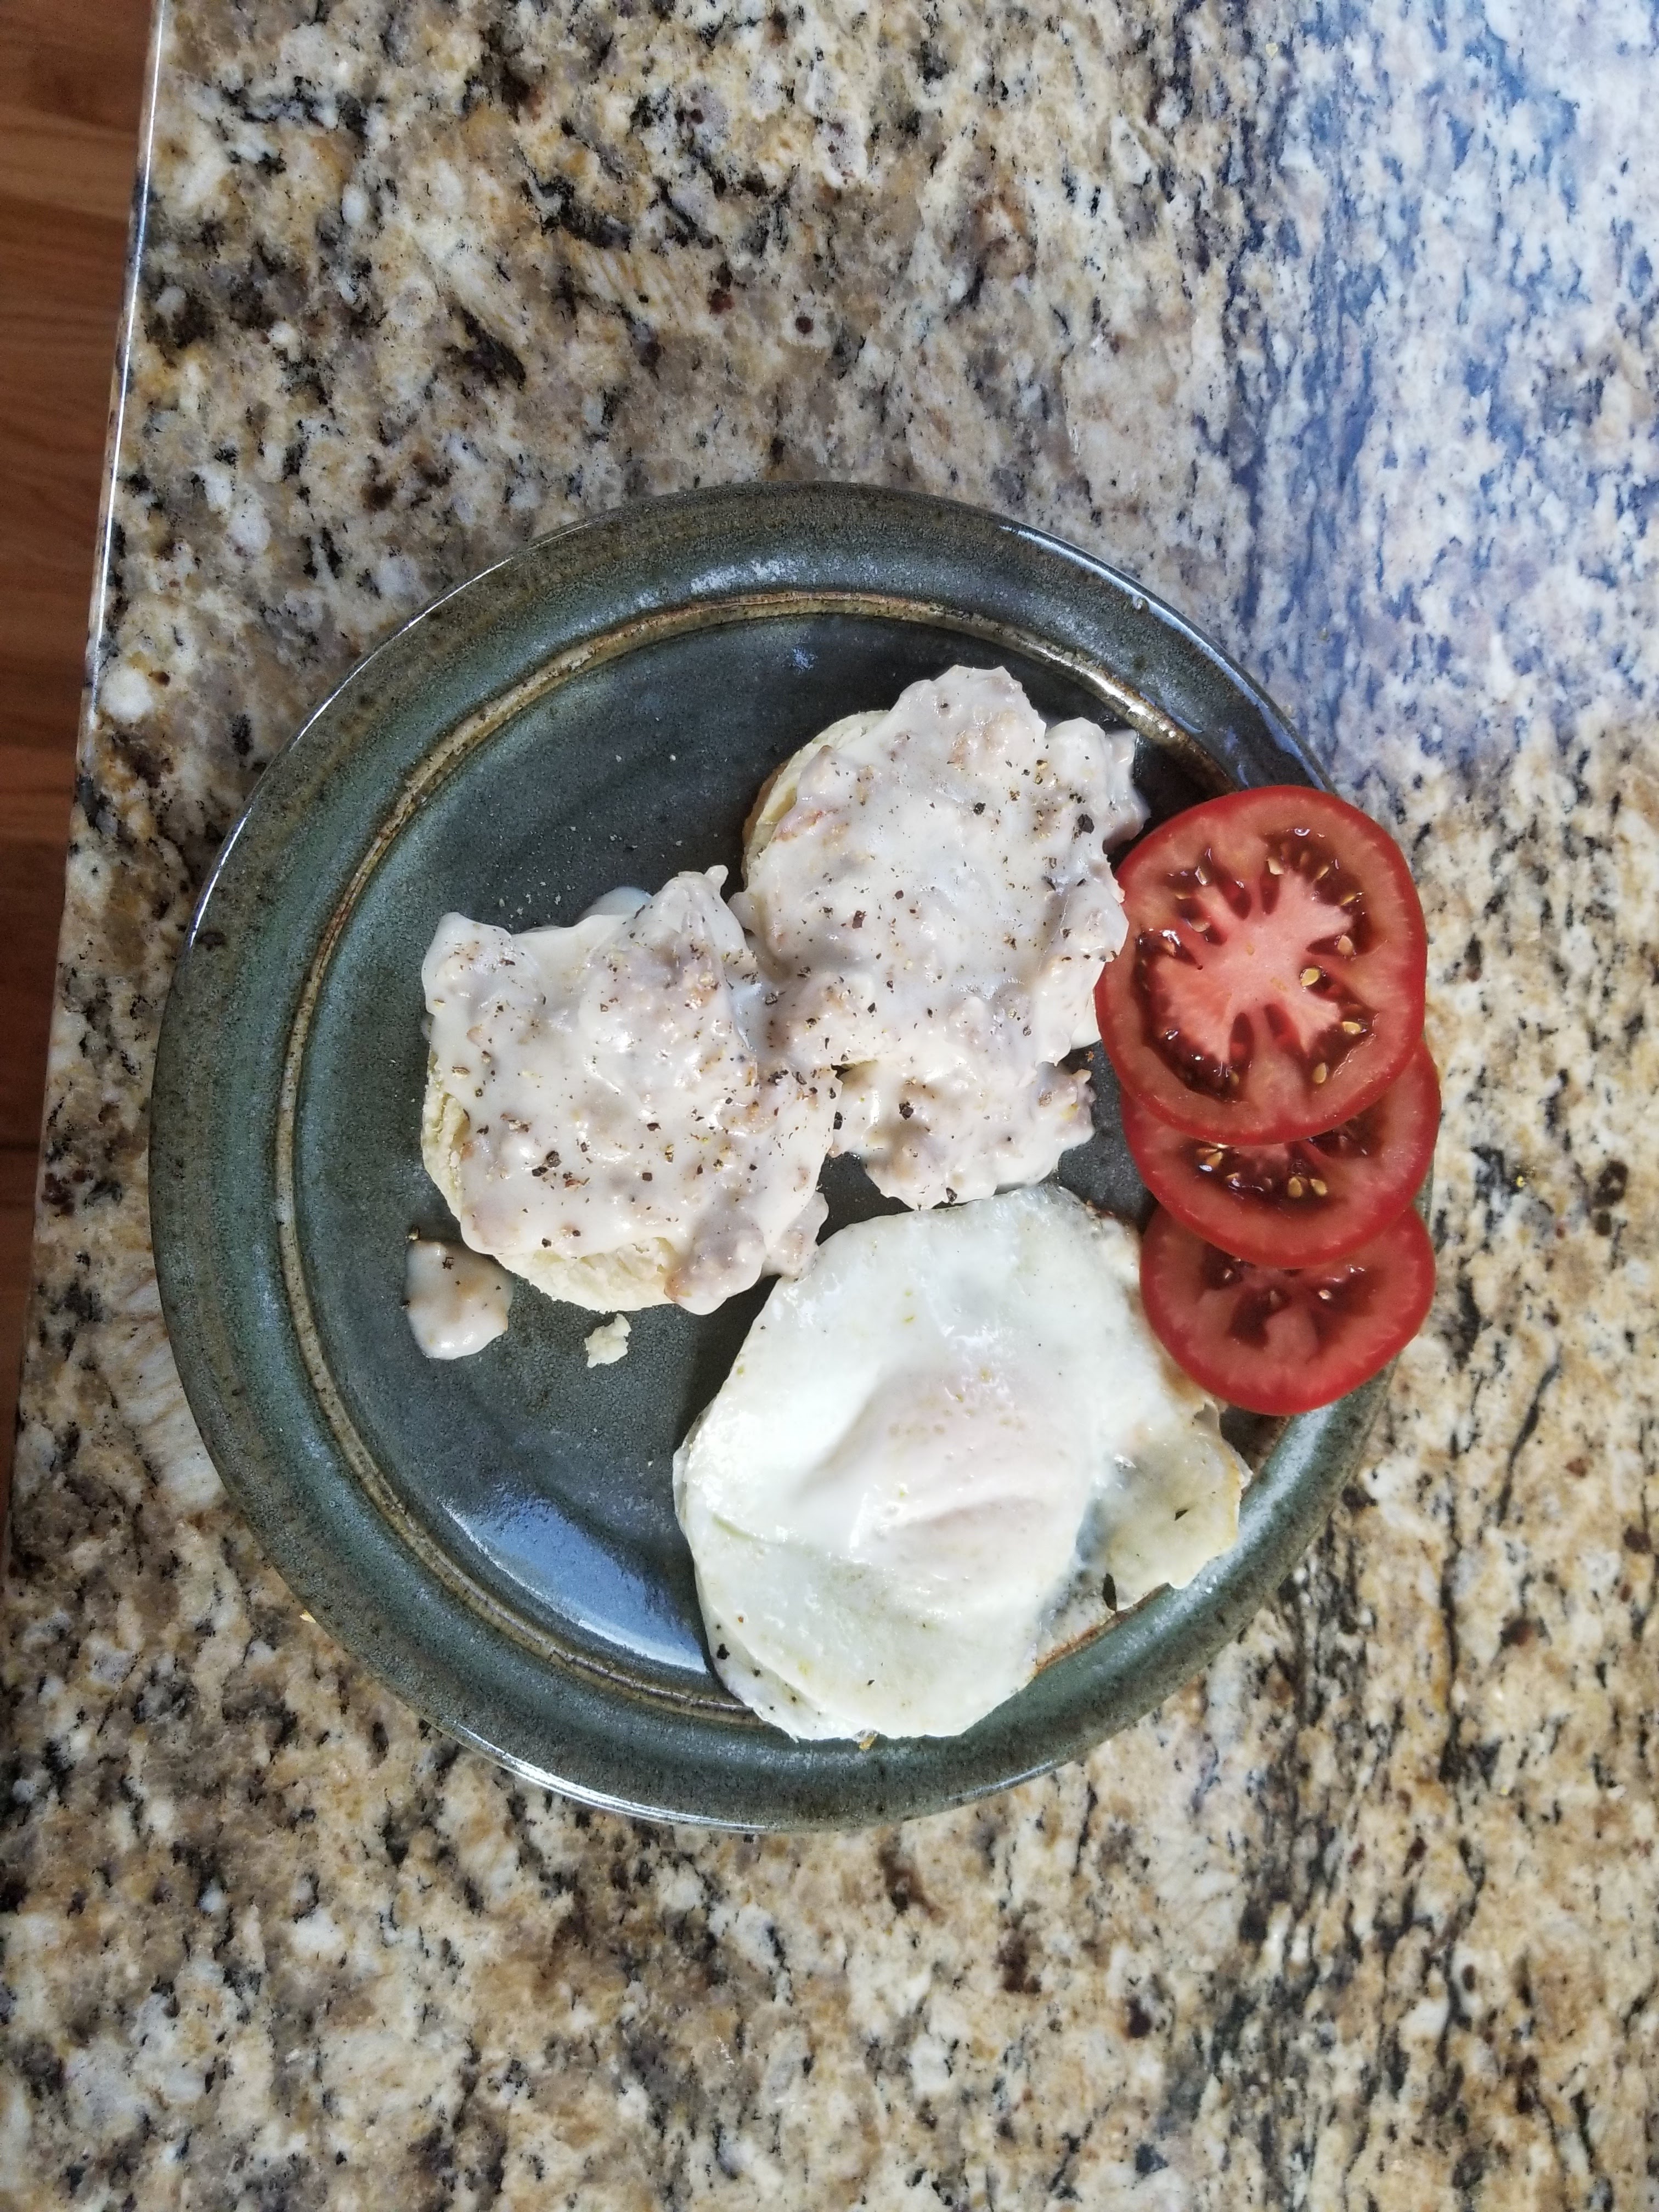
On white platter (left gluten-free/right full wheat). On plate gluten-lite version. 
Comparing the rise of the gluten-free version and the full wheat version
The Taste Test

We decided to do a blind taste test to see if our families could tell the difference between the
different recipes. Turns out
everyone easily identified the gluten-free version based on
texture, but telling the
difference between the
gluten-lite and full-wheat
versions was mostly
indistinguishable. About half of the testers got it right (and I
think they were just guessing.)
Conclusion
So cutting your gluten in half on this recipe won’t make a difference to the taste or texture. I will argue (which is why I started this blog) that it will make a difference in how you feel after eating it. For me, cutting out half the gluten leads to easier digestion and less bloating afterwards. So in my opinion 100% worth it!